INTRODUCTION
Adobe Portfolio is a convenient addition to creative cloud subscriptions for All Apps, Single App, and Photography plans. If you have one of these plans the following steps will show you how I created my current website using the platform. You will need to start by going to portfolio.adobe.com, signing into your CC account and selecting 'New Site':

STEP 1: Selecting a Template
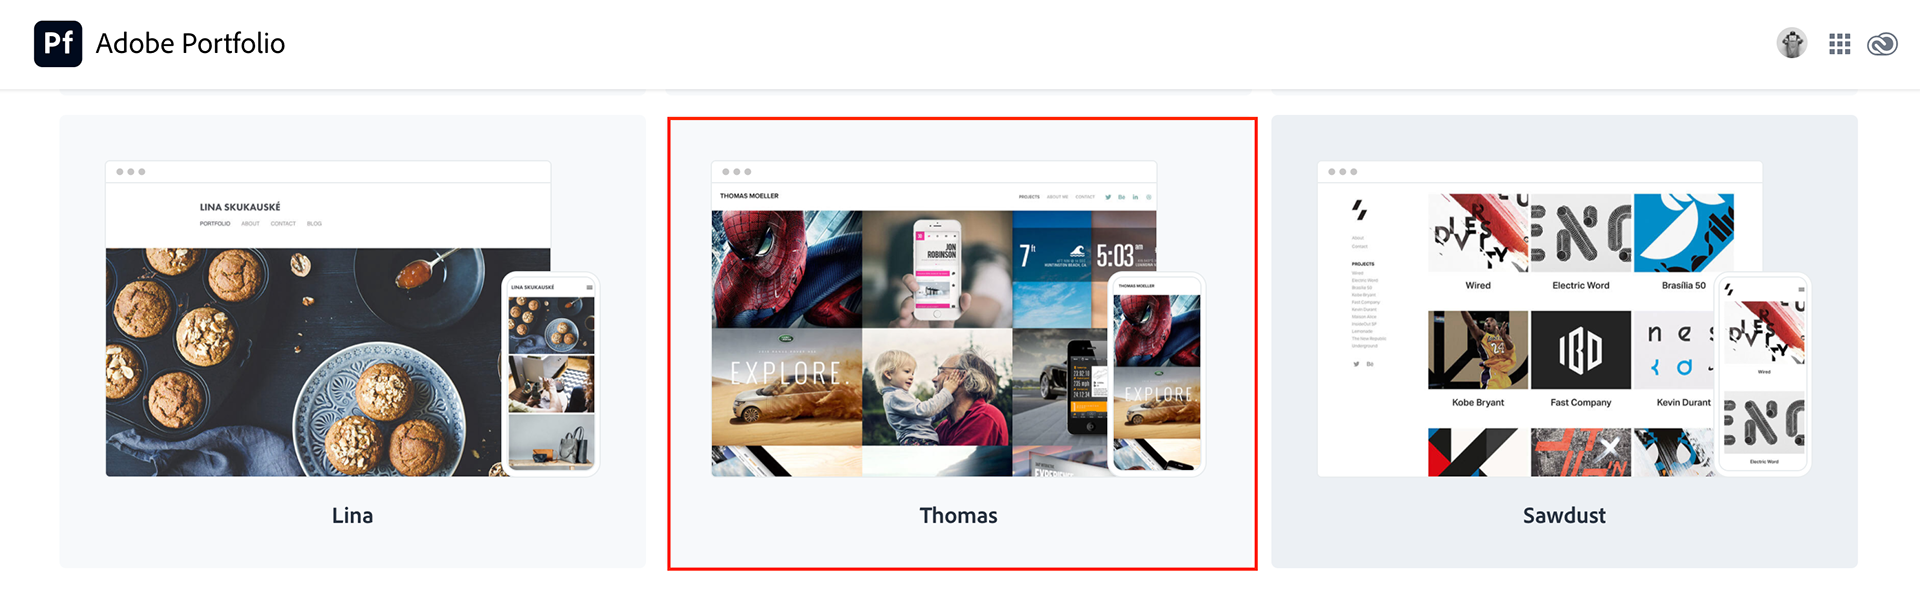
First, you will need to pick a theme. This will set the baseline structure for your site. They all differ slightly but essentially provide the same functionality. If you don't want to use one of the themes you can use the options to create a welcome page and expand from there. For my website I used the theme 'Thomas', I've seen this theme used by other designers and really liked it's organisation. For me, having gridded 4 x X content feels really intuitive:
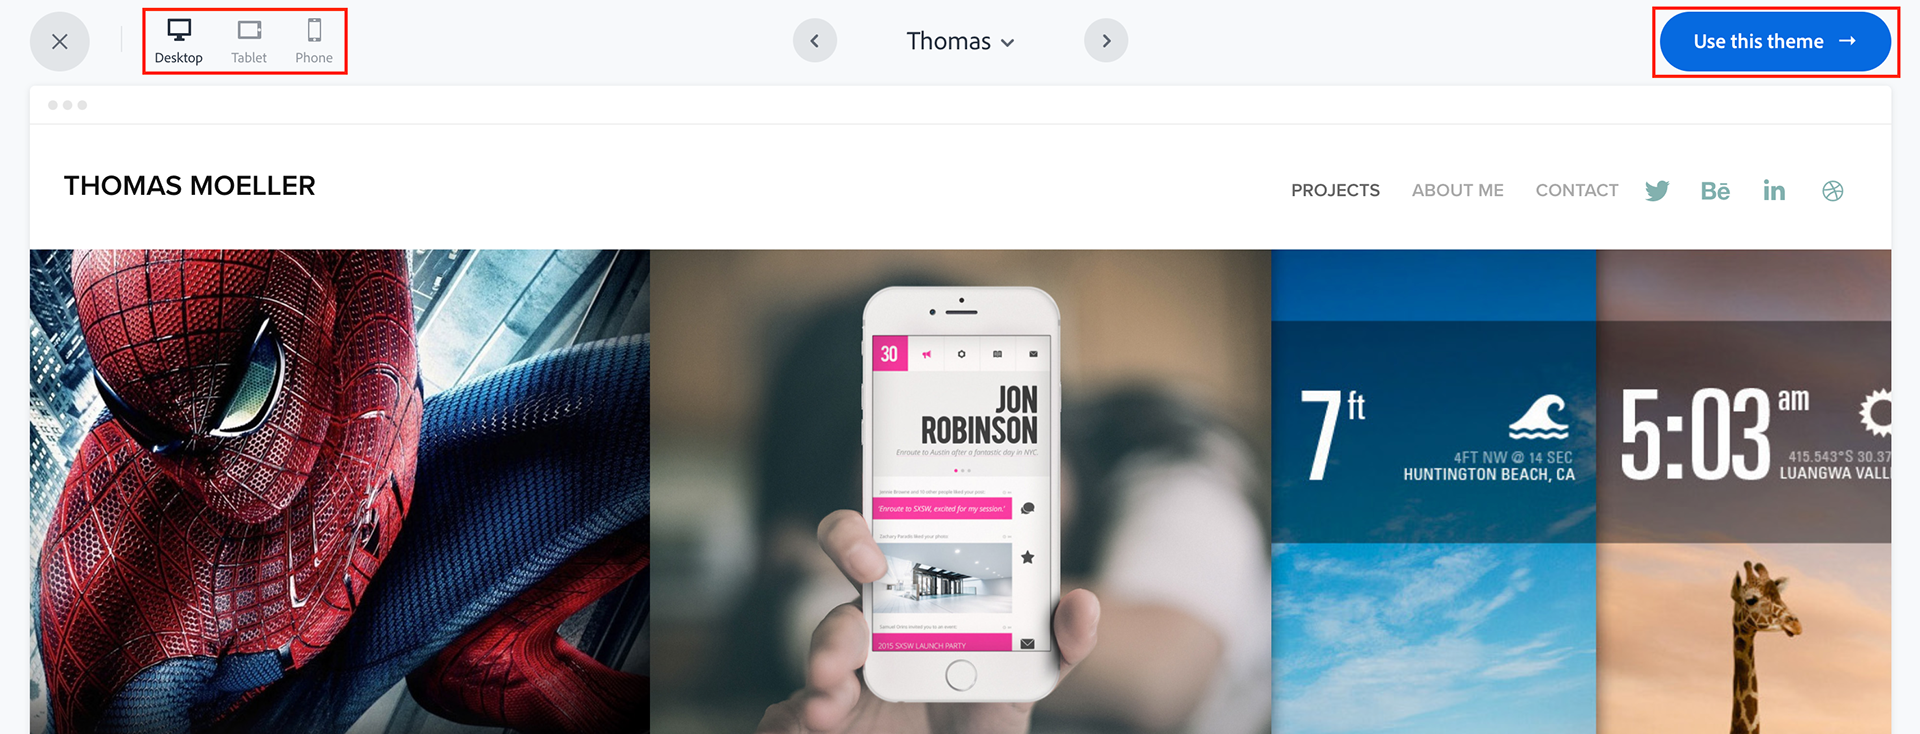
When you select the theme you will be shown a preview which you can view in Desktop, Tablet and Phone modes. If you're happy with your choice click on 'Use this theme':
STEP 2: SETTING UP A BASE
After clicking 'User this theme' you will enter the editing dashboard. Firstly, I would suggest really digging into the options and exploring the editing capacity of Adobe Portfolio. I initially setup a standard base for my site:

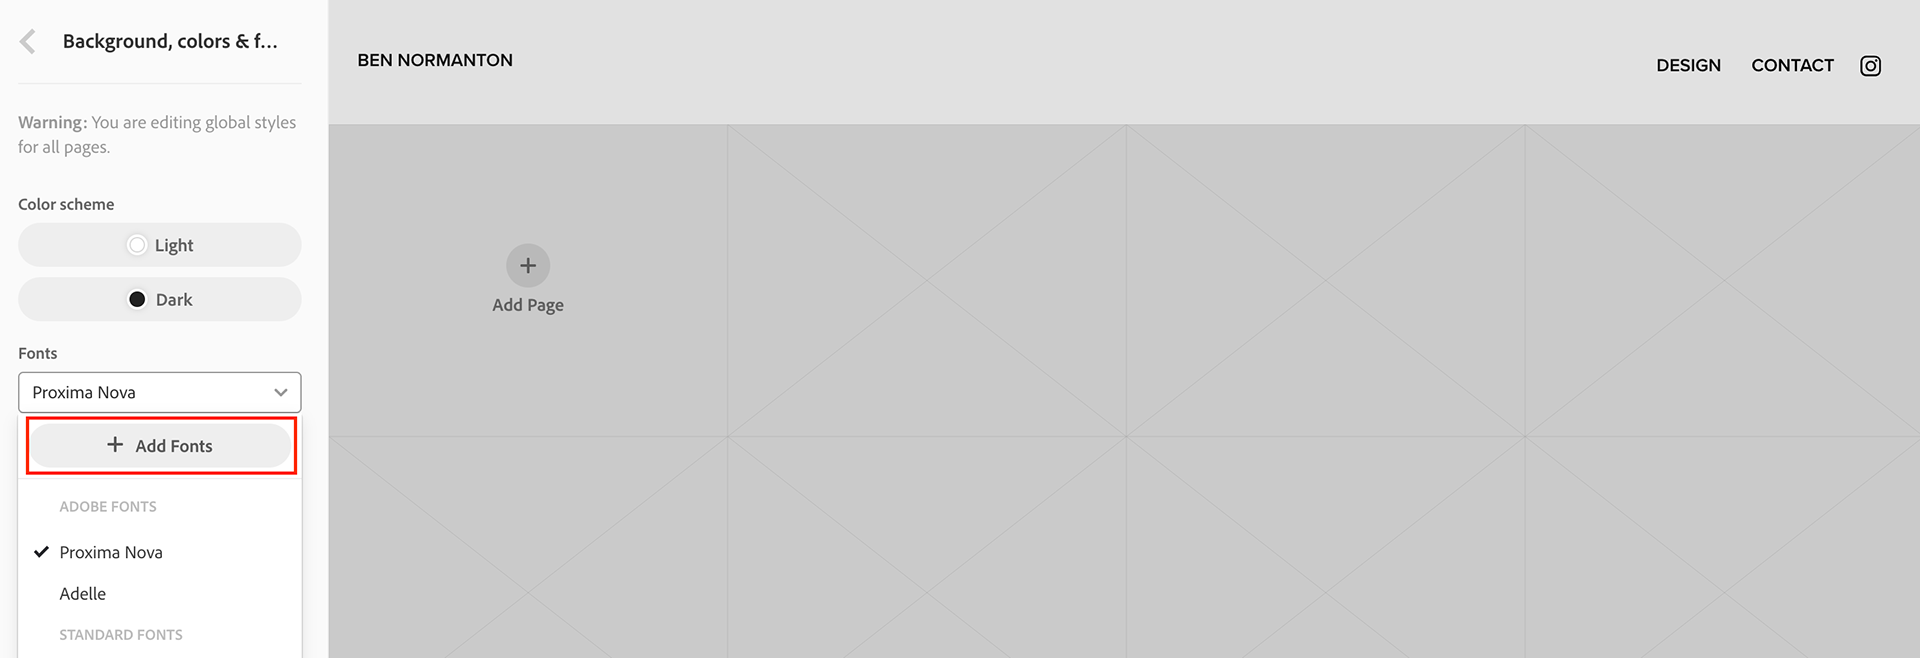
If there's anything you don't like at this stage you can always change it later and as you start setting your theme you will want to be adjusting the global values for media so that you can adjust things site-wide. I didn't like any of the default fonts so I used Source Code Pro, which is a google font, to use on my site. You can add a font by going to 'Background, colors & font', clicking the font selector and then clicking 'Add Font':
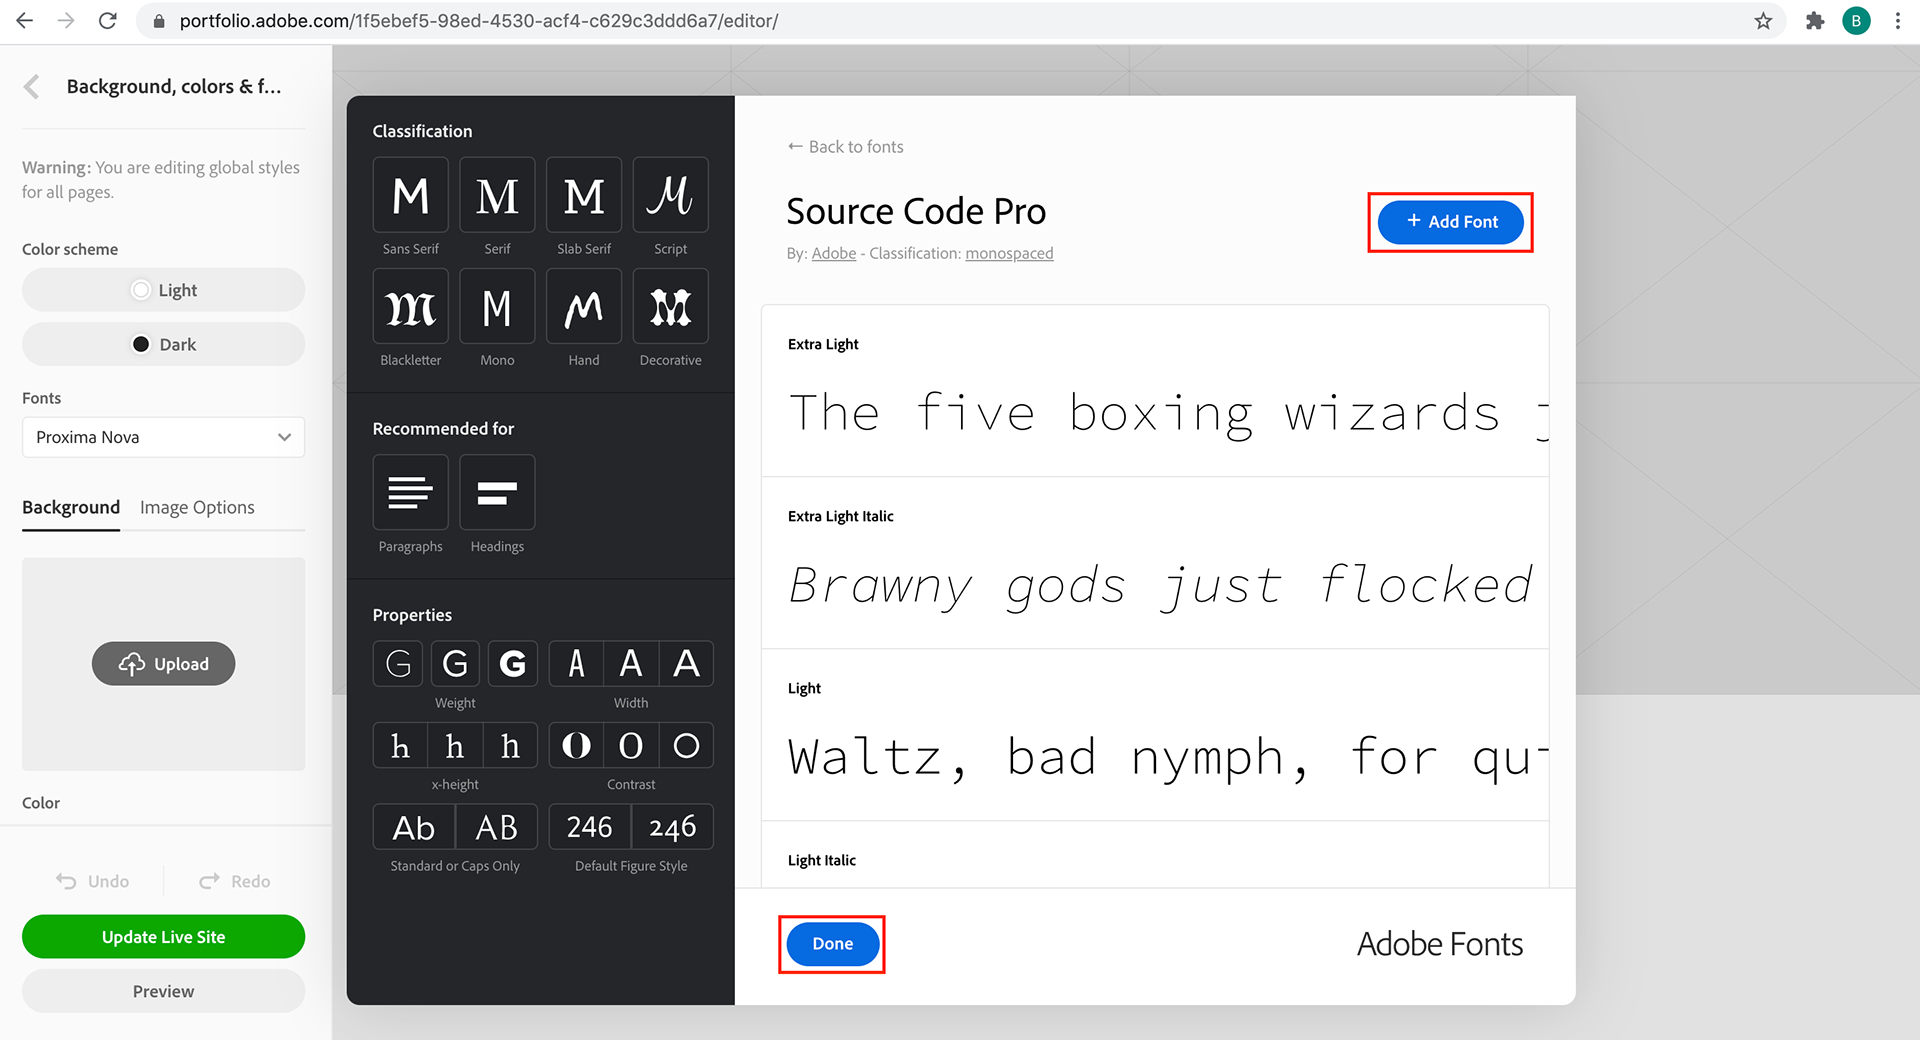
When you click 'Add Fonts' you will be shown a font selection box that you can use to find fonts. A lot of google fonts pair with Adobe fonts so I found the font and clicked 'Add Font':
Once you're set on a font you like and have added it to your library, adjust the global styles and elements you have setup for your template:

Take this opportunity to setup as much as possible for the theme of your site. I setup rollover colors, how i wanted my top page button to look, my footer, social media icons etc. I went through a bunch of trials before committing to the site I have now. In retrospect it would have been much easier to make global changes before adding content instead of after. These are examples of my trial versions:
STEP 3: ADDING CONTENT
Content on Adobe Portfolio is split into a few categories. For my example I used 'Collections' for my portfolio and a 'Page' for my contact form. A 'Collection' is multiple pages and a 'Page' is a single page. For adding your content you want to be using a collection.
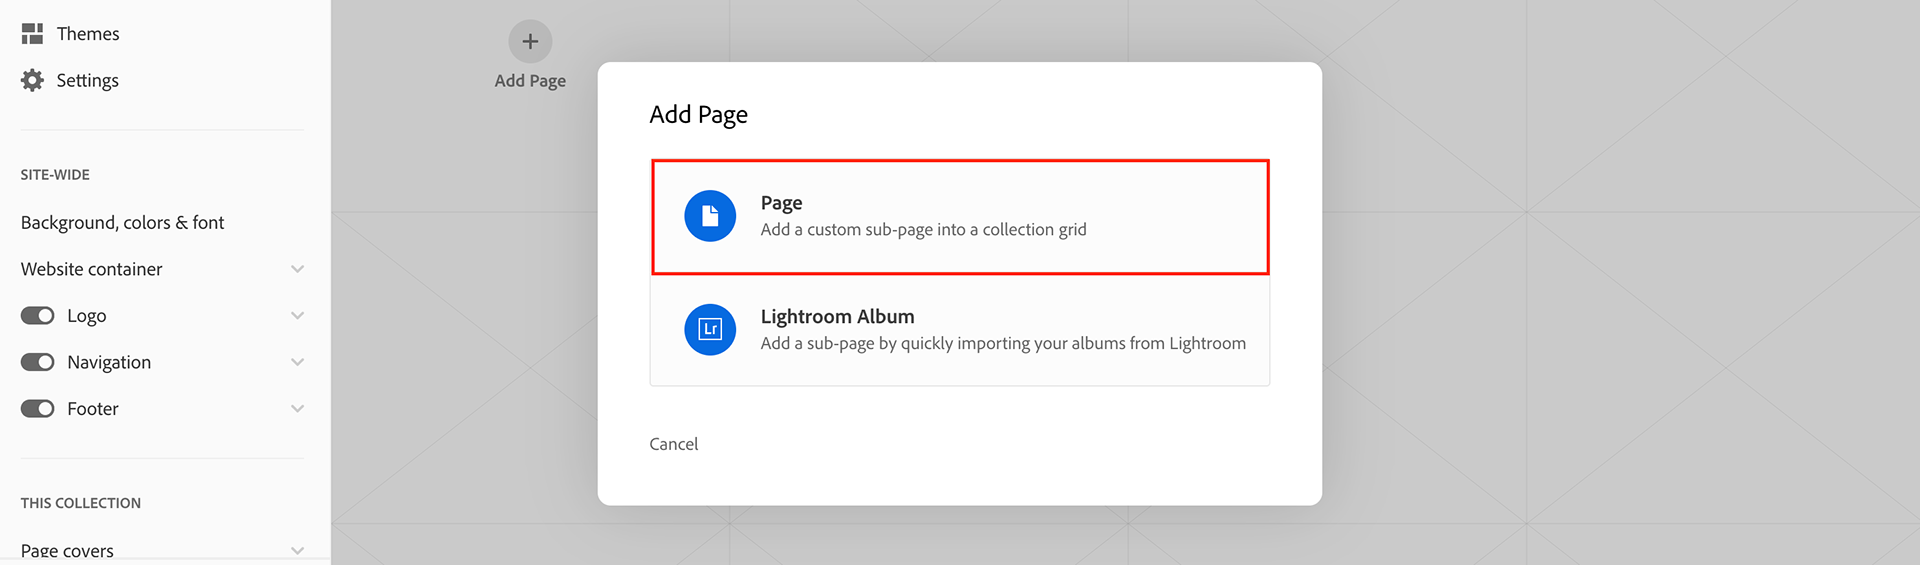
When you're ready to start adding content, navigate to your main collection and click on 'Add Page':

You will see a pop-up for what type of page you want to create. Click on 'Page':
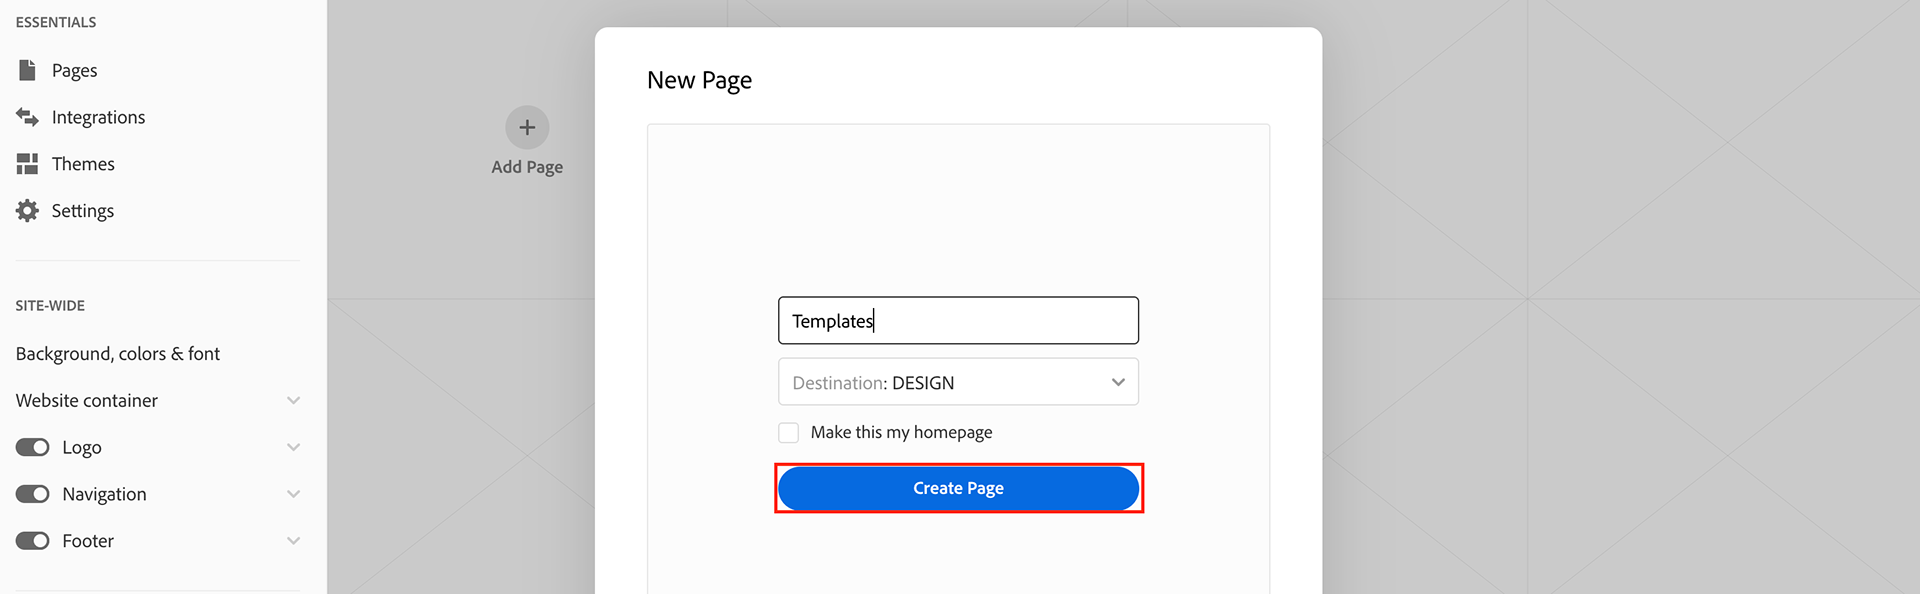
Next, you will be prompted to give your page a title, I'm going to call mine 'Templates'. Click, 'Create Page':
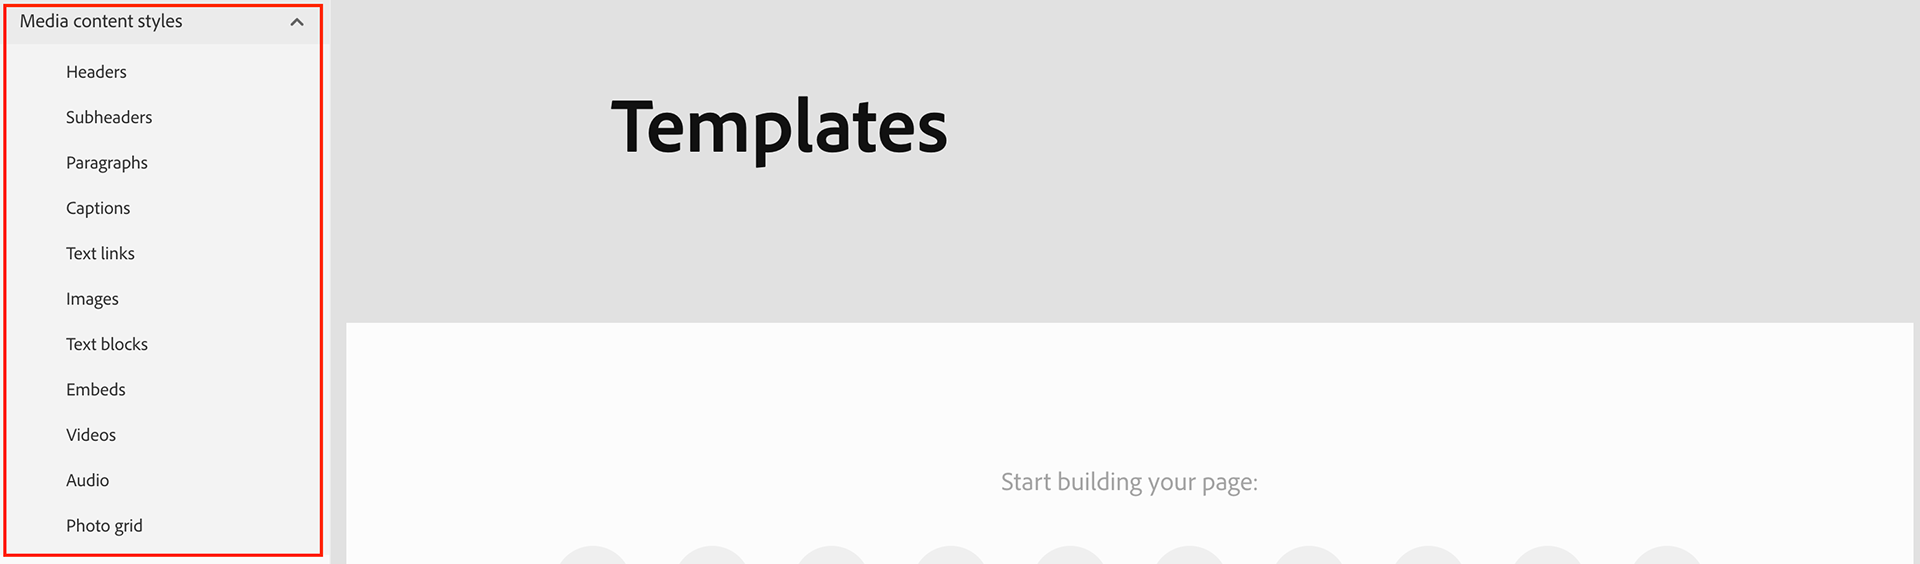
Now you will be presented with the following page, and it might look a total mess in contrast with whatever theme you setup:

At this point, I setup all my page-wide styles using the 'Media content styles' tab. It's good to make a note of these and saves you going back and forth to change fonts and margins whilst editing the page, really put some time into setting this up how you like it, it will save time later on:
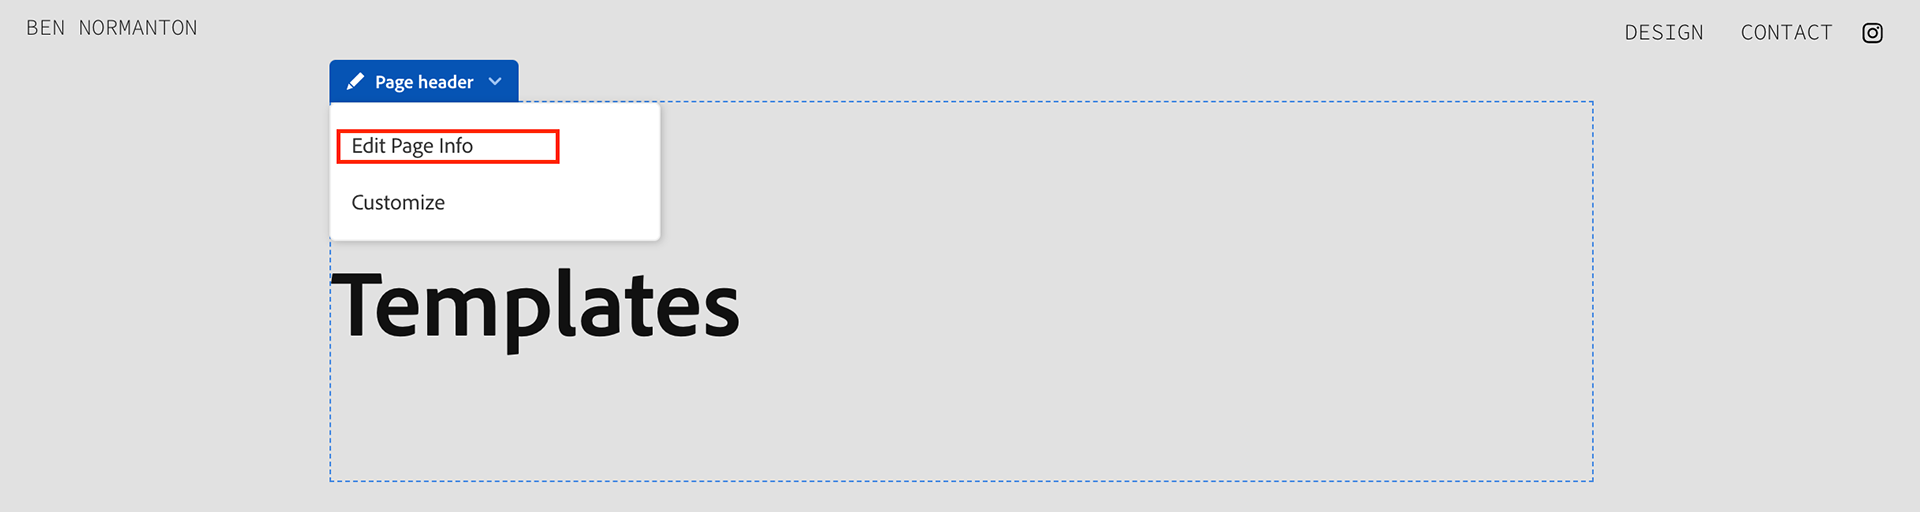
When you're happy with that you can move on to adding content. First, I'll add the header info:

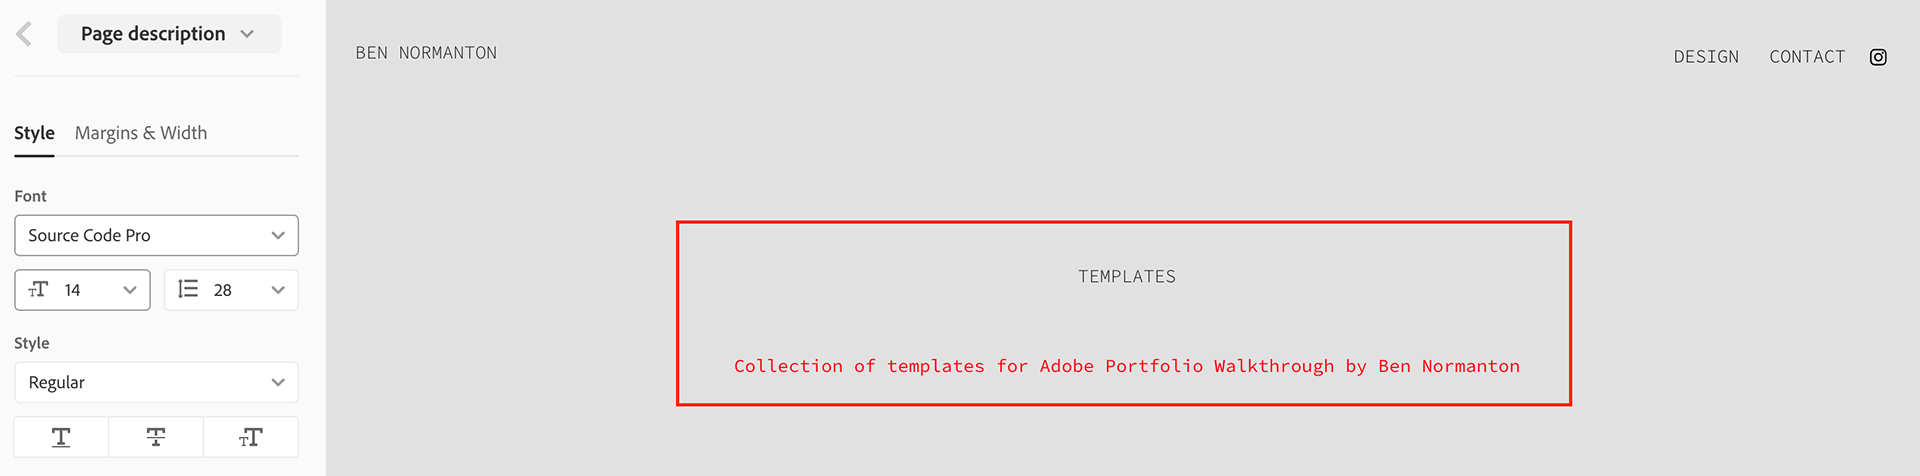
Next, I will customise the style to match the site theme:
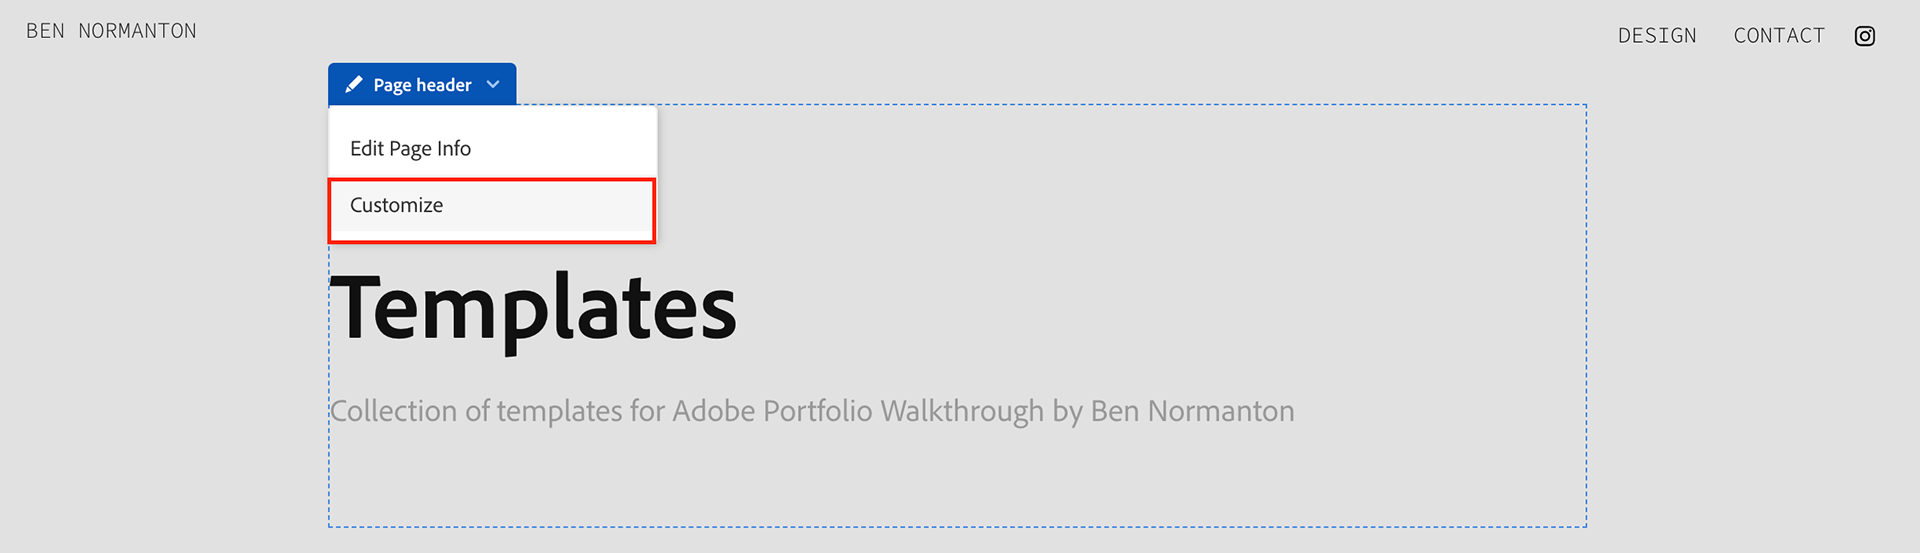
I will be editing the 'Title' and 'Description' fields which are the ones I keep visible on pages:
Now we're ready to add content. At the bottom of the page there's a content type selector. Here you can add all sorts of different things, but for the purpose of this walk-through I'm only going to be using the 'Text' and 'Image' content types. We will start with text:

Because we have already set our text styles in the media and content editor we are able to type straight into the form using all our presets and themes:

Next we will add an Image. The 'Start Building your page' box is no longer visible on the page so if you hover below your text box you will see a blue line with a '+' symbol:

Clicking the symbol will present you with a menu where you can select which type of content you want to add. We will click on 'Image':

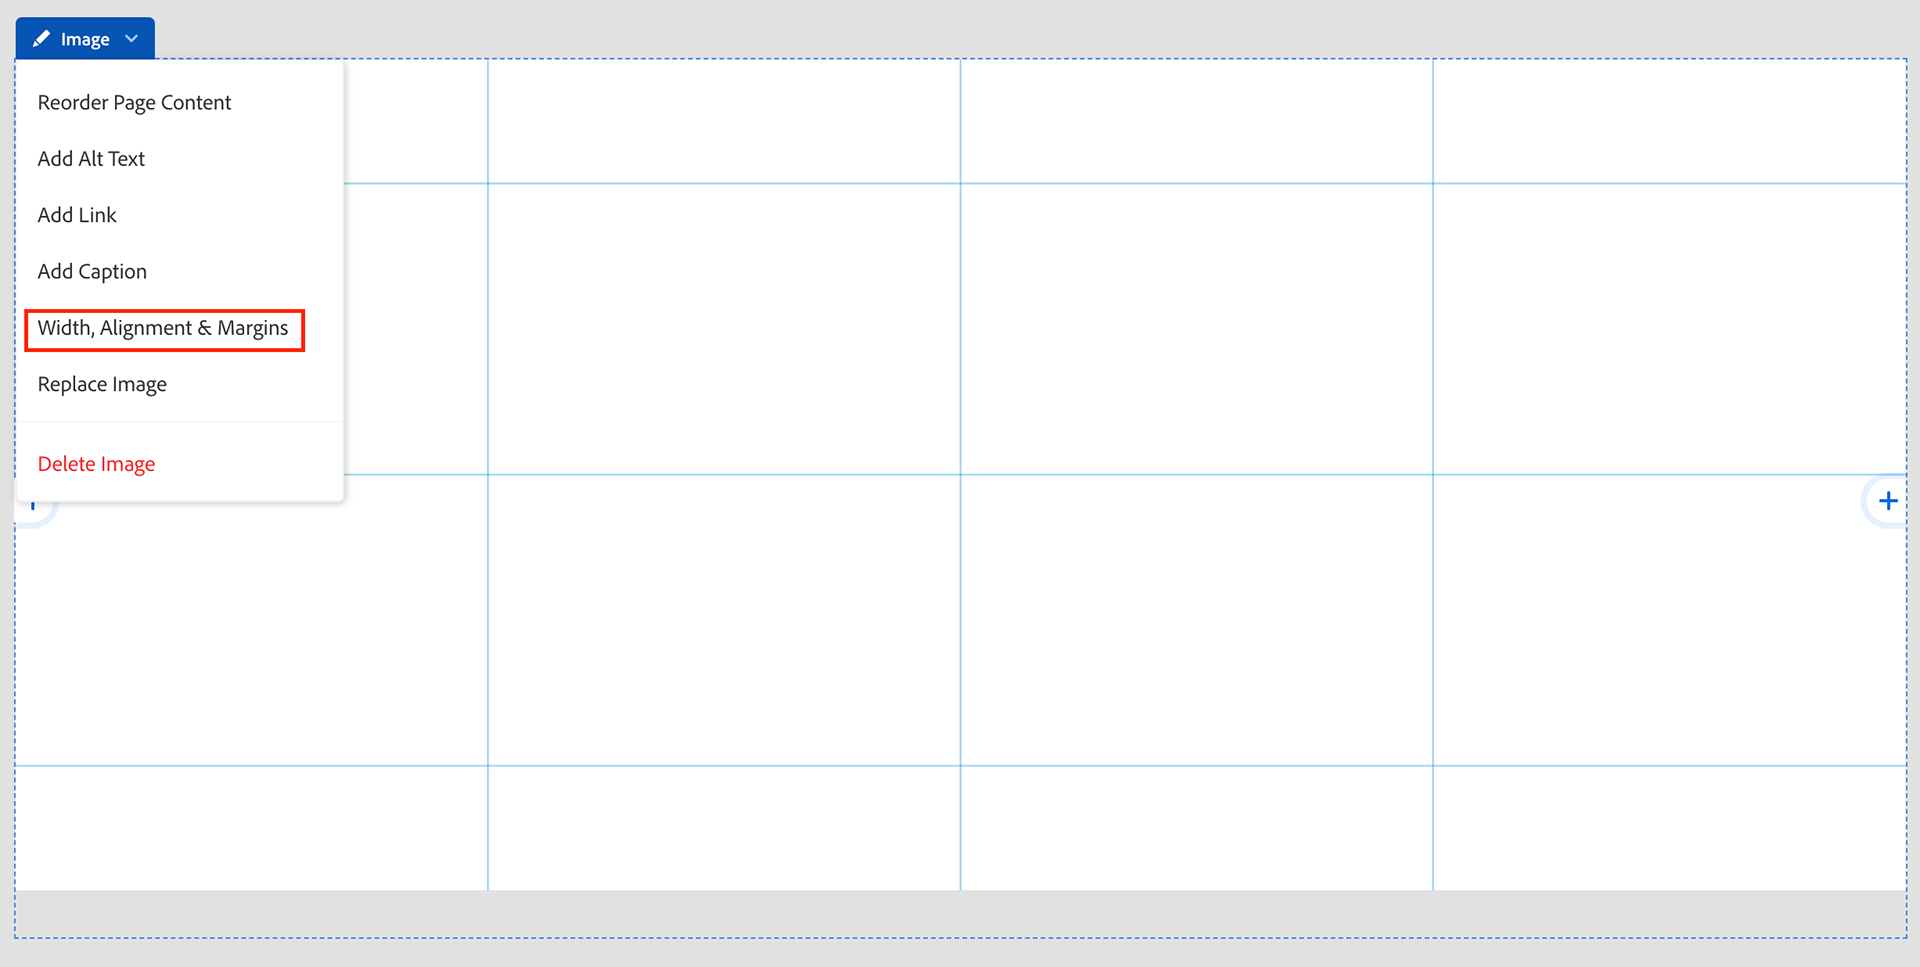
I will provide the template for Images that I use at the end of this blog, but it's down to personal preference how you stack them. With images you can set the scale and margins by modifying the settings. You can also do other things like add captions and you should definitely add alt text for people in need of descriptive language:
We have now created a basic page with some content, we will move on to making covers and rollovers for the page.
STep 4: Adding Covers
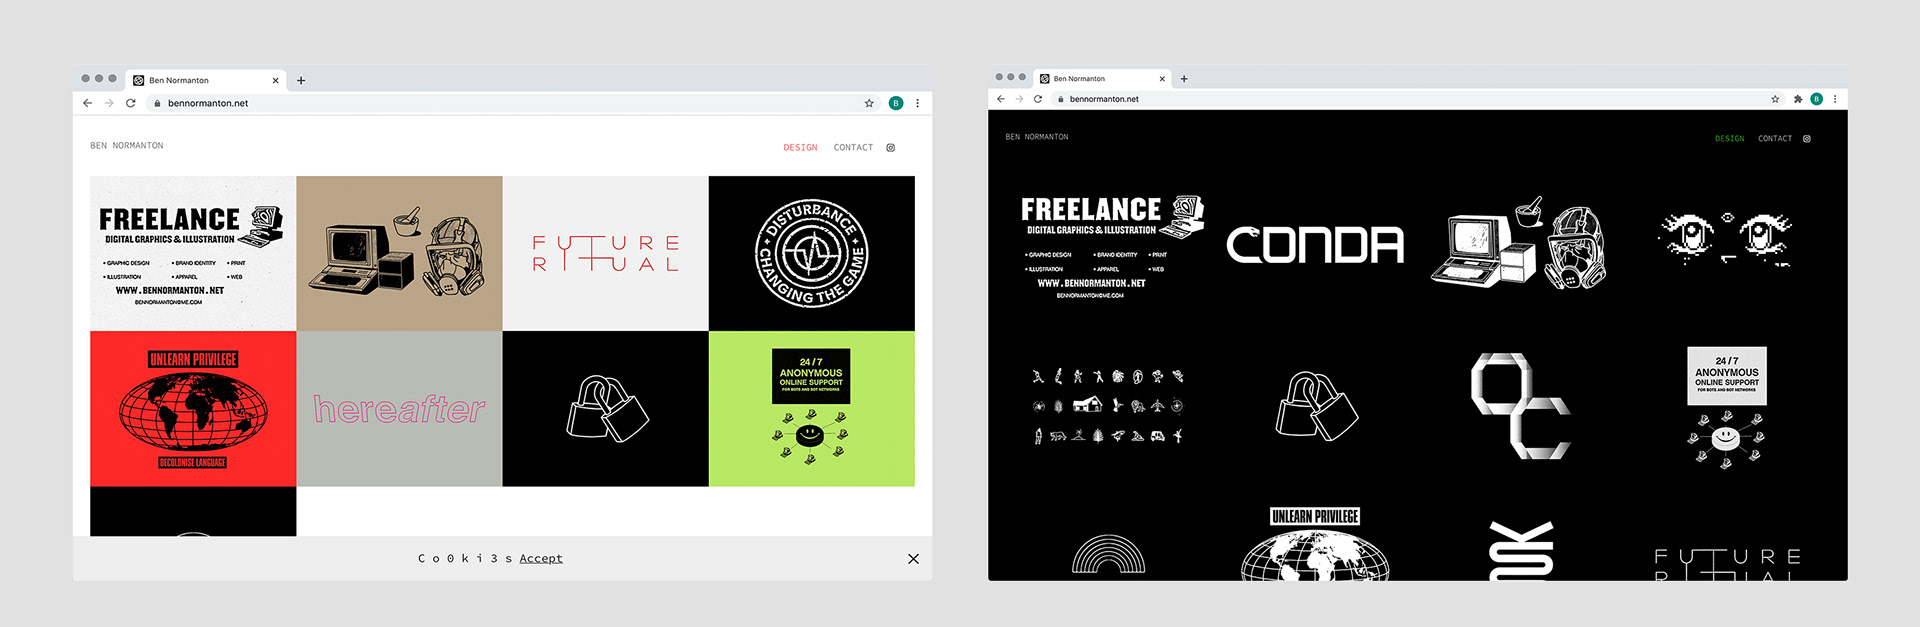
Now we have added some content, if we go back to our main collection we can see the page has been added and is using default fonts and the image we uploaded as a cover:
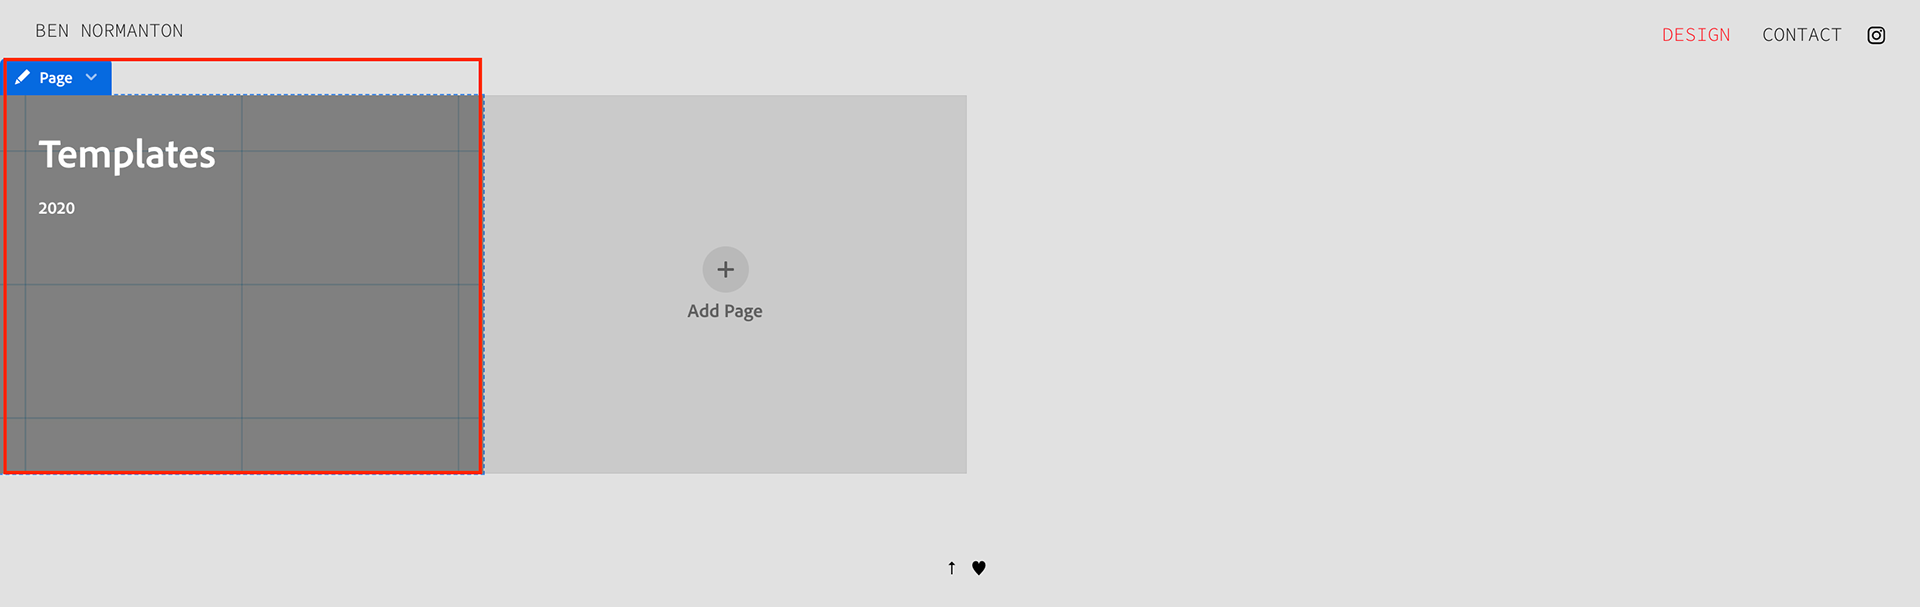
The default settings are intuitive but aren't great. After having my site with all the color separated for a while I didn't like the lack of connection between the projects caused by the harsh contrast of colors. Also, it would mean the color of the cover had to relate to the color of the content which, again, could sometimes be quite harsh. To get around this I used a cover template that blends with the background of the main site and setup a grid to use to place the icons and logos (I sometimes go off grid, it's fine). This is my cover template in photoshop:

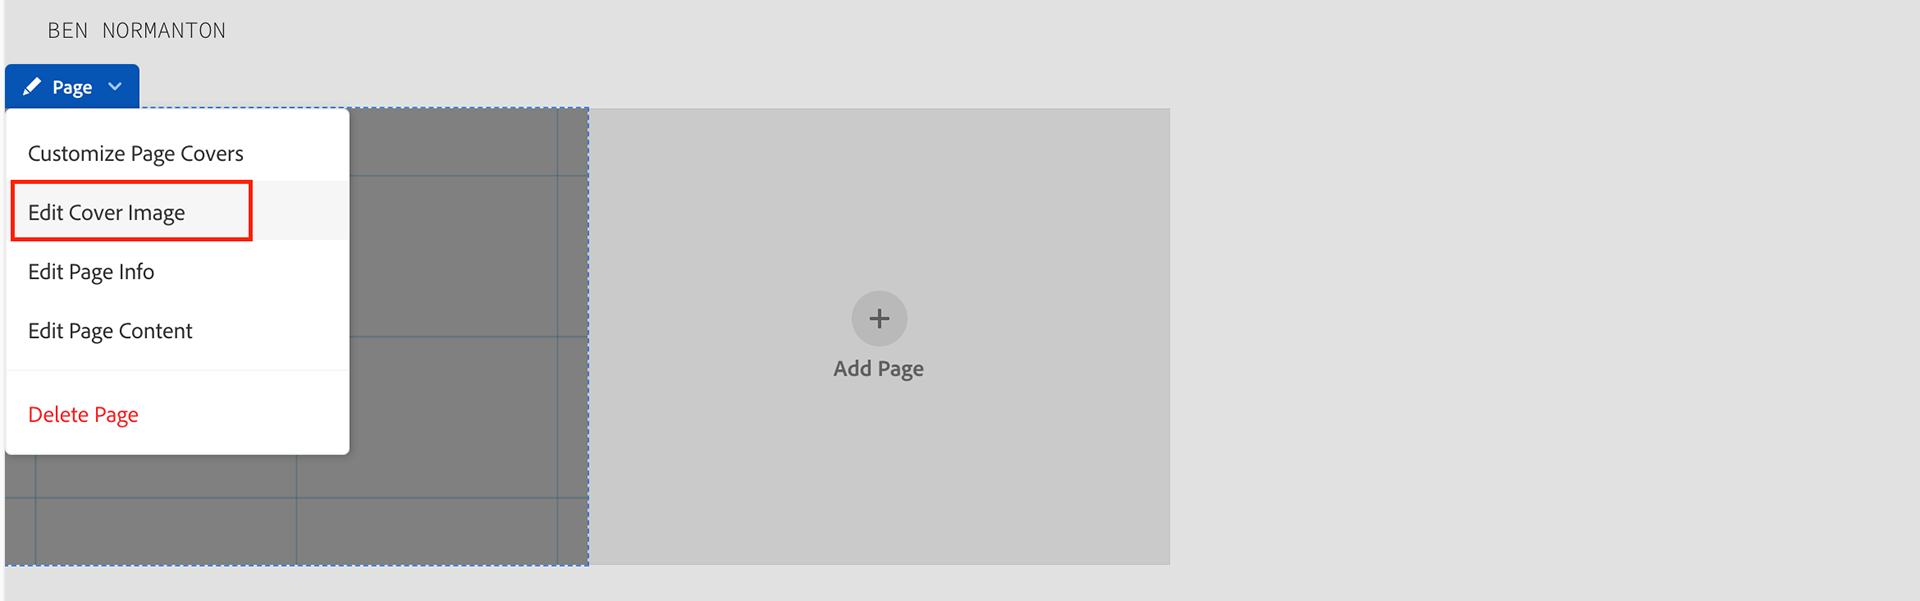
To add the image you hover over the cover and click on 'Edit Cover Image', it's worth noting that you can also add a rollover image, there are a bunch of creative ways to do this that I've seen on multiple different websites - so try things out:
Once we've added the images and created edited the text using 'Customize Page Covers' we should be all set:

When you're happy with the way your site is looking click on 'Update Live Site' and that's it, you have published contain on your custom website:

You can view the full dummy site I made for this tutorial, and download the templates, by clicking on this link:
CONCLUSION
I don't feel like there is any 'one' way to work with Adobe Portfolio. I recommend trying things out, there's loads of inspiration out there and there is a lot of flexibility to be creative within it's limitations. Having said that, it is limited, so one drawback is that there will be similar looking sites out there using similar concepts. If you read this and it helped you I'm looking forward to seeing what you created.